Dr. Catarina G. Rodrigues, DDS, MSc – Dr. Manuel D. Marques, DDS
A 59-year-old female patient presented for a screening appointment with concerns about old dental treatments that were failing. Her initial panoramic x-ray revealed a very compromised oral condition (Fig.1).
After a proper clinical observation, we could further understand the extension of the problems. Besides the fractured and loosen dental bridges, we verified a severe collapse of the vertical dimension and unbalanced occlusal plane (Fig.2,3).
When analyzing the initial extra-oral pictures of the patient, we could notice that the aesthetics of her smile was also compromised (Fig.4). Following a proper diagnose, we proposed the following treatment plan, for the upper, treatment of the carious lesions, extraction of the hopeless teeth and implant placement.
Then, a posterior bridge on the first quadrant over OMNI abutments, an anterior bridge from 1.2 to 2.2 over OMNI abutments and a single crown for element 2.6 also over OMNI. A connective tissue graft was planned as well for the first quadrant and the anterior zone (Fig.5).
On the lower arch, we planned direct composite restorations to treat the vertical dimension collapse, extraction of the hopeless teeth, placement of 3 implants on the third quadrant and then a single crown over OMNI for element 3.3 and a bridge over OMNI for the posterior teeth (Fig. 6).
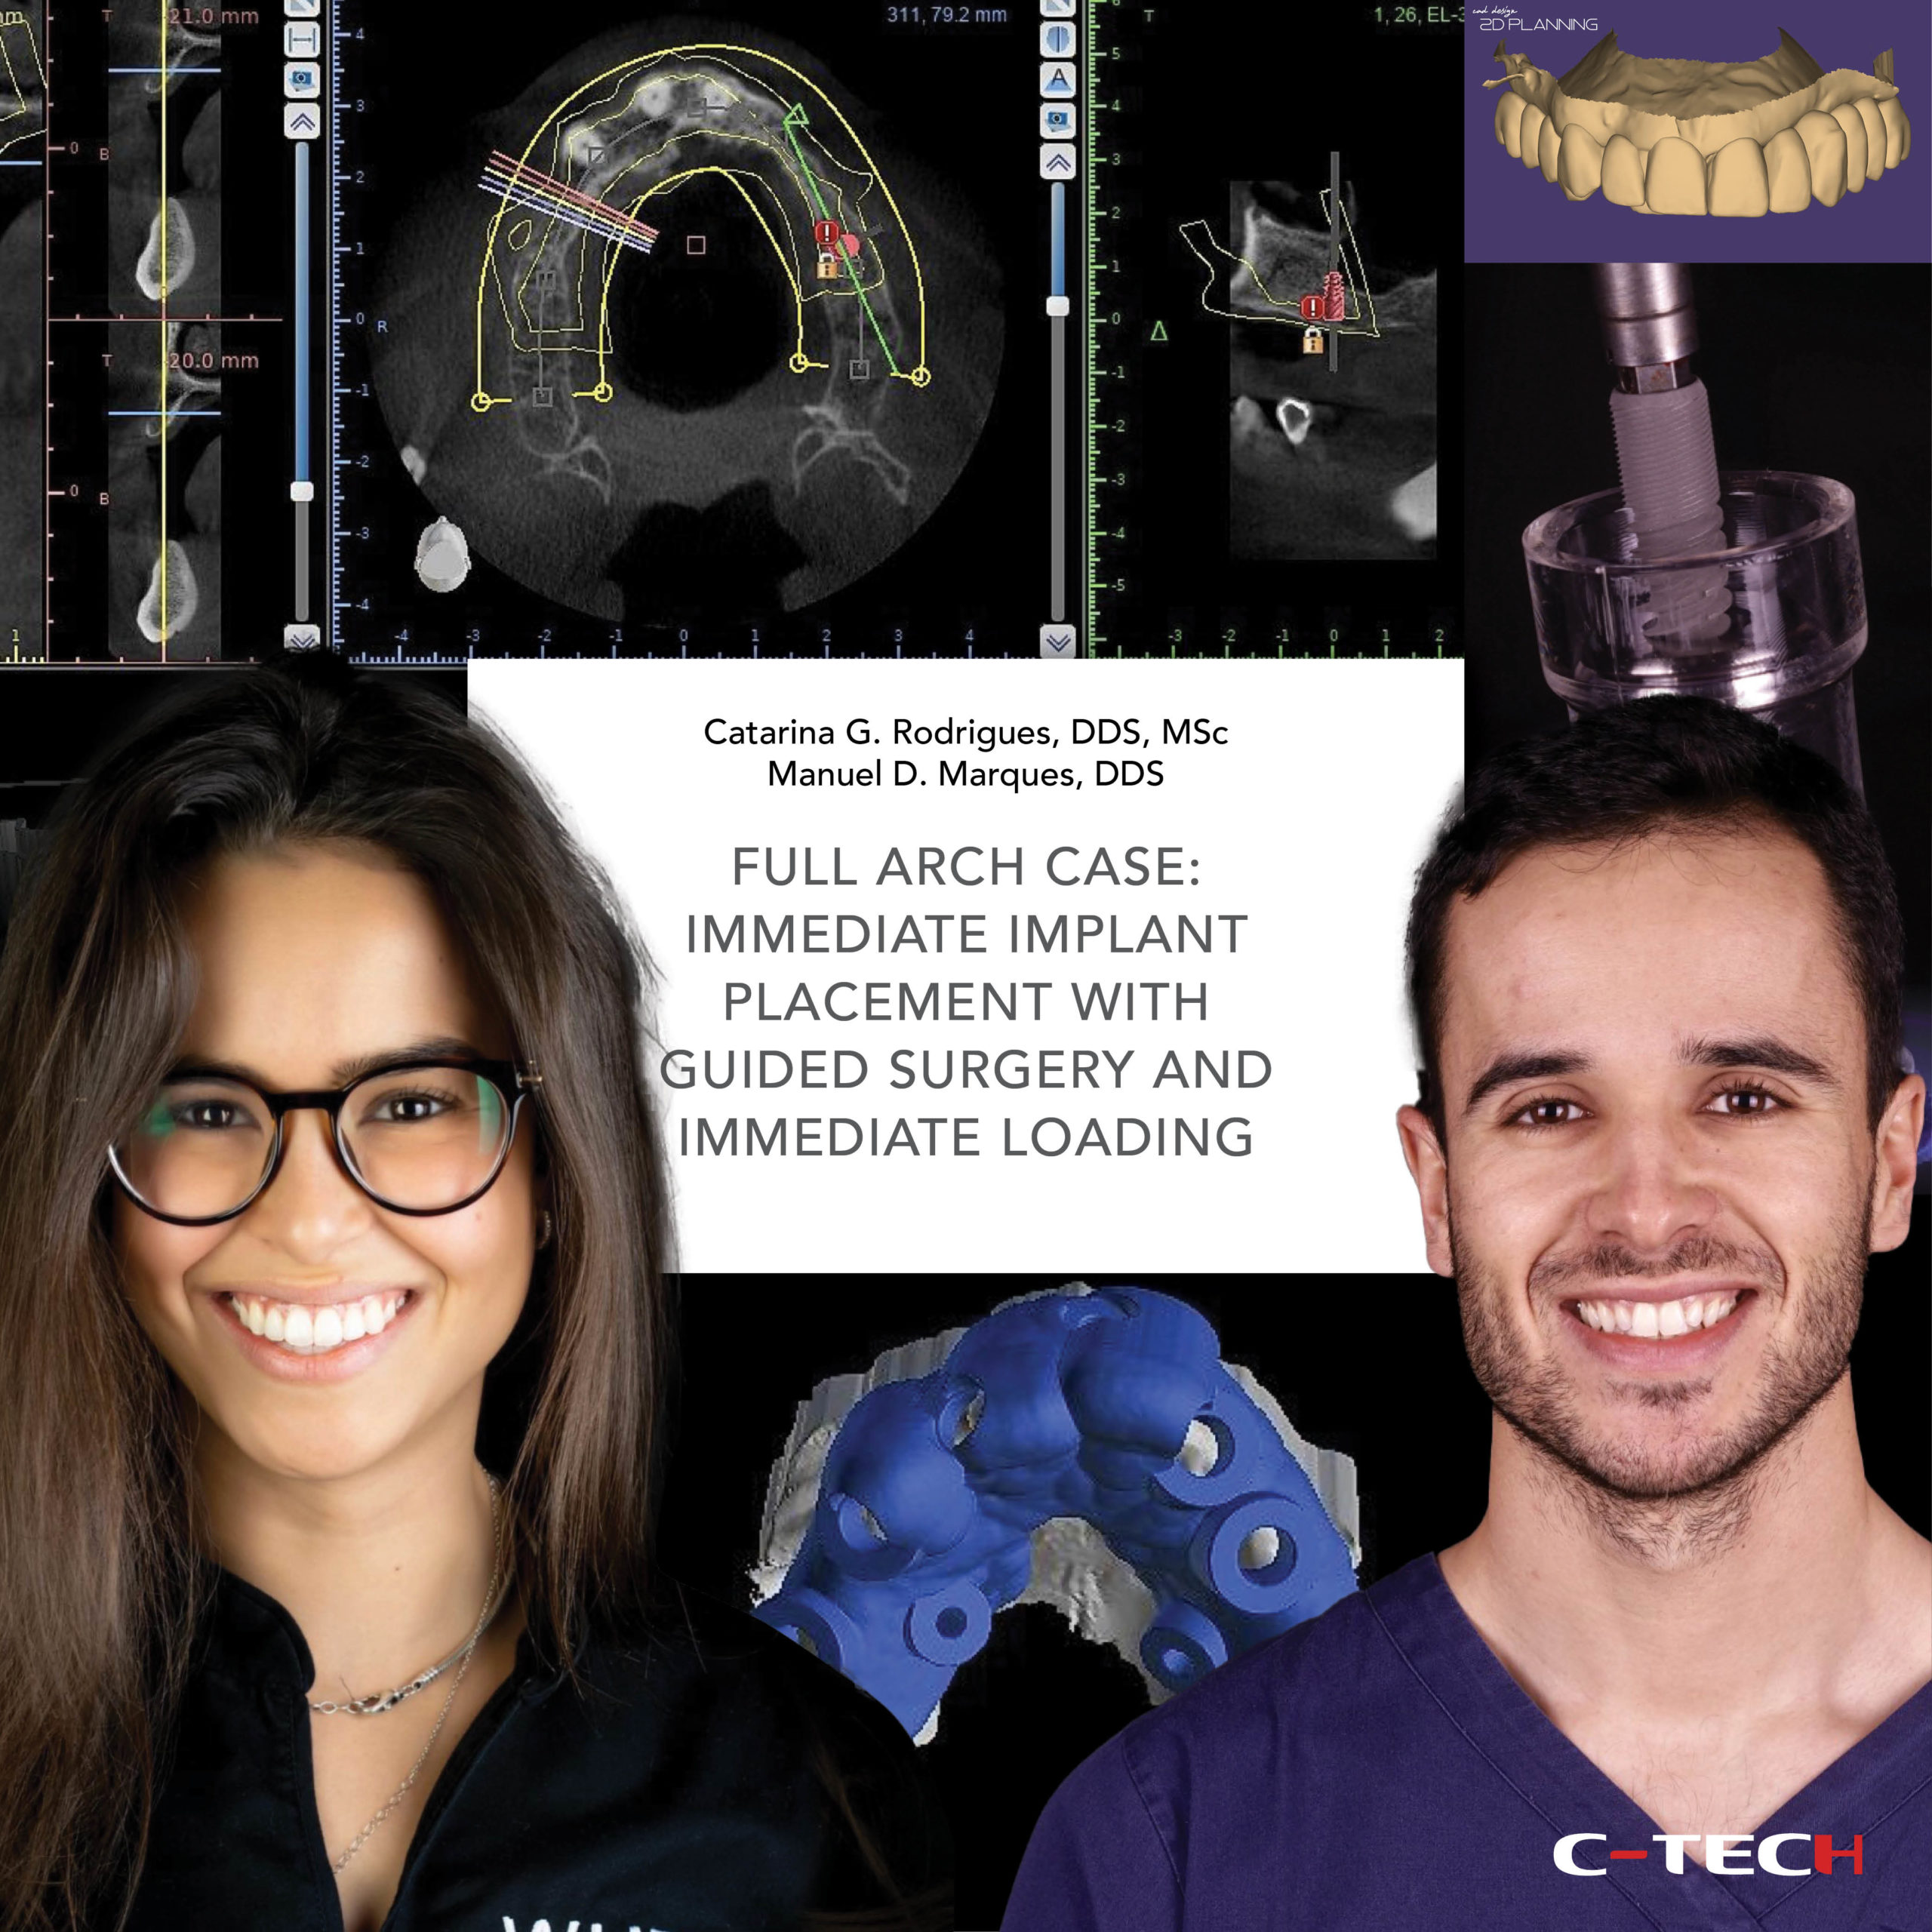
In order to perform a proper pre-surgical prosthetic plan of the case we did an initial intra-oral scan and also a 2D simulation using a specific dental CAD program (Fig. 7,8).
Then, the 2D simulation was translated to a 3D mock up and tested on the patient’s mouth. Both us and the patient were happy with the mock-up so we proceed with the surgical planning (Fig. 9-12). To do that, we supper-impose the original STL with the STL of the mock up and the CBCT using a specific 3D CAD software.
Then, after planning the implants according to our future restoration, we extract virtually the teeth and design the guide. For the anterior region, we planned implants on the 1.2 and 2.2, both 3,8 x 11 mm. For the 2.6, it was planned a 4.3 x 9 mm implant. For the lower arch, it was planned a 3.8 x 11mm implant for the 3.3, a 3.8 x 9 mm implant for the 3.4, and finally a 4.3 x 7 mm implant for the 3.6 (Fig.13-20).
During the surgery, the first step was the atraumatic extraction of the roots on the upper anterior region, followed by the placement of the surgical guide (Fig. 21,22). The fit and stability of the guide was checked before starting the drilling sequence (Fig.23).
All implants were placed fully guided. After the implant placement, the previous selected OMNI abutments were screw to the implants, plus the respective healing caps. Then, a connective tissue graft was placed to optimize the soft tissue architecture (Fig. 24,25).
In this first surgery all implants were placed but the ones on the first quadrant. Only the upper anterior implants were loaded. On the third quadrant, it was decided to submerge the implants due to factors related to the quality of the bone in this area (Fig. 26).
One week after the surgery, the patient presented to the clinic for a follow-up appointment in which we observed a good healing of the tissues (Fig. 27). Later, 3 weeks after the surgery, in a control appointment, we verified that everything was healing well, however the interproximal papilla between 11/12 and 21/22 was still incomplete (Fig. 28,29).
But then, 2 months after the surgery, the papilla was almost fully present. That happened because with the connective tissue graft we managed to increase the volume of the tissues, which supported its growth (Fig 30,31).
The second stage surgery of the 3rd quadrant and the implant placement on the 1st quadrant were done 3 months after the first surgery. During the second stage surgery of the 3rd quadrant, a connective tissue from the palate was graft to increase the volume and quality of the soft tissues around the implants. It is well describe in the literature that in order to avoid problems around the implants, it is mandatory to have a good thickness of tissues. This will protect the implants and make a good sealing on the implant-abutment interface. After the surgery, OMNI abutments were placed as well as its healing caps (Fig. 32-37).
One month after the surgery, we could appreciate how the graft healed very well around the OMNI abutments and also how this narrower prosthetic components allowed to preserve a greater amount of soft tissues (Fig.38).
After the healing phase, we proceed with final impressions. An occlusal view of the implants and tissues revealed a great healing of the soft tissue around the implants and OMNI. It is important to mention that the 3D position of the implants, the use of proper prosthetic components, and the soft tissue management, are crucial for obtaining a beautiful aesthetic result and to ensure the longevity of the treatment (Fig.39).
In this case, a complete digital workflow was followed. The scan abutments were placed over the OMNI to perform the intra-oral scan of the upper and lower arch (Fig.40-45). Finally, the provisional restoration of the upper anterior teeth was also scanned. This is a very important step when doing the final impressions as it will allow the lab to copy the tooth shape and the gum emergence profile for the final restorations, saving time on try-in appointments, and making sure we will not lose all the work we made during the gum modulation phase (Fig. 46).
The final crowns were obtained using CAD-CAM technology (Fig.47,54).
Finally, the crowns and bridges over implants were delivered. We managed to obtain natural-looking restorations well integrated with the remaining patient’s natural teeth. Also, a proper adaptation of the crowns in the periapical x-rays was verified (Fig. 55-62).
In respect to the restorations on the 3rd quadrant, it is possible to observe that a situation in which the soft tissue was almost absent was converted into a situation where very healthy soft tissue with proper volume and architecture was visible around the implants and crowns (Fig. 63).
In the intra-oral and extra-oral photographs comparing the initial and final situations, a dramatic transformation is visible in terms of aesthetics, teeth position and soft tissues. The treatment carried out has improved patient’s overall oral health, occlusion, and the aesthetics of her smile (Fig. 64-68). The final panoramic x-ray revealed also a major improvement in the oral condition of the patient (Fig.69,70).
Webinar | OMNI AESTHETIC SOLUTIONS: from single units to full arch Catarina G. Rodrigues, DDS, MSc • Manuel D. Marques, DDS
This webinar introduces the OMNI abutment by C-Tech, a versatile prosthetic component designed to achieve excellent aesthetic results across various dental cases, from single units to full arches. The presentation begins with a complex full-mouth case demonstrating the OMNI abutment’s adaptability for single crowns, anterior bridges, and posterior bridges.
Catarina G. Rodrigues, DDS, MSc - Manuel D. Marques, DDS
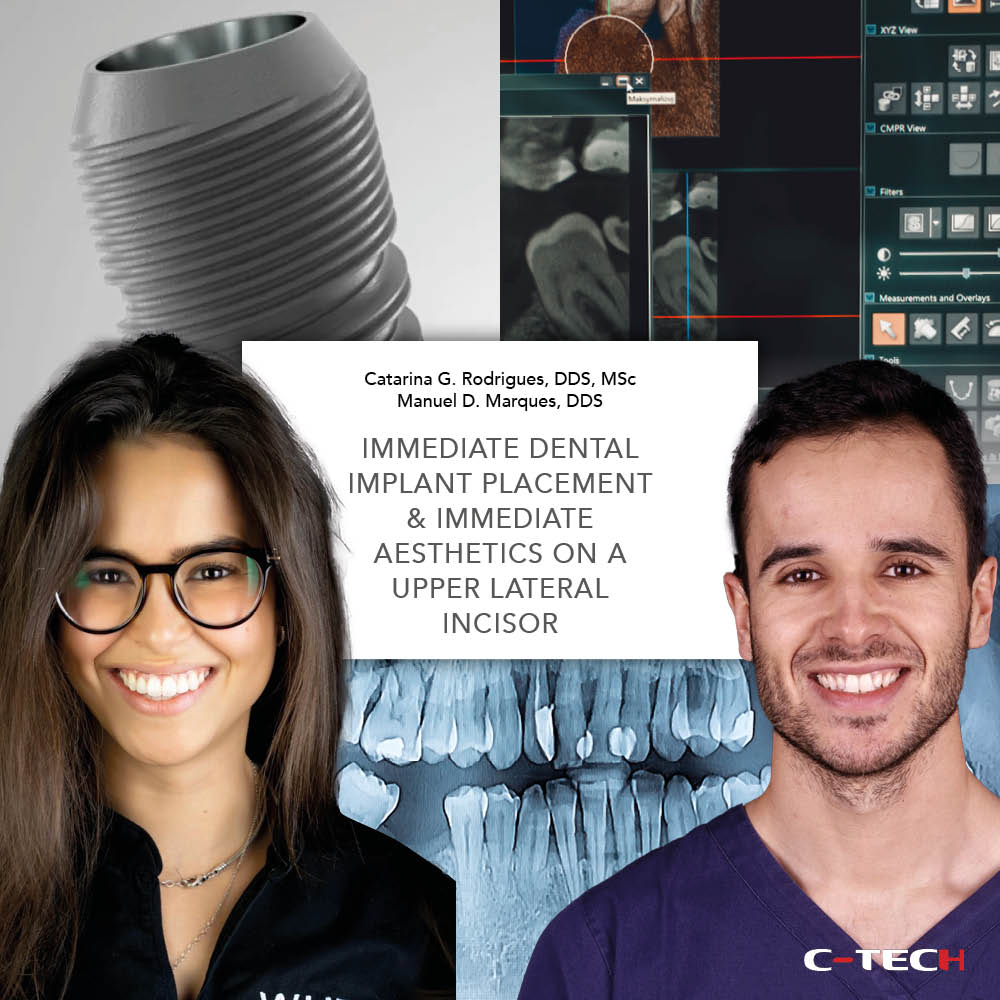
In the present clinical case, the upper left lateral incisor presented with a vertical fracture. Following a proper clinical and radiographic analysis, the tooth was considered hopeless. The treatment plan consisted of the extraction of the lateral incisor and immediate dental implant placement. It is well described in the literature that delayed loading, in contrast with immediate or immediate- delayed loading, can lead to predictableRead more
by Doctor Henriette Lerner, HL-DENTCLINIC DR. STOM. MEDIC.
In this case, the patient has a genesis of the two upper lateral incisors.
Having created the space with the help of the orthodontic specialist, we first proceed with a Digital Smile Design and then with the digital planning of the two implants in comparison with the new aesthetics.Read more
by Doctor Henriette Lerner, HL-DENTCLINIC DR. STOM. MEDIC.
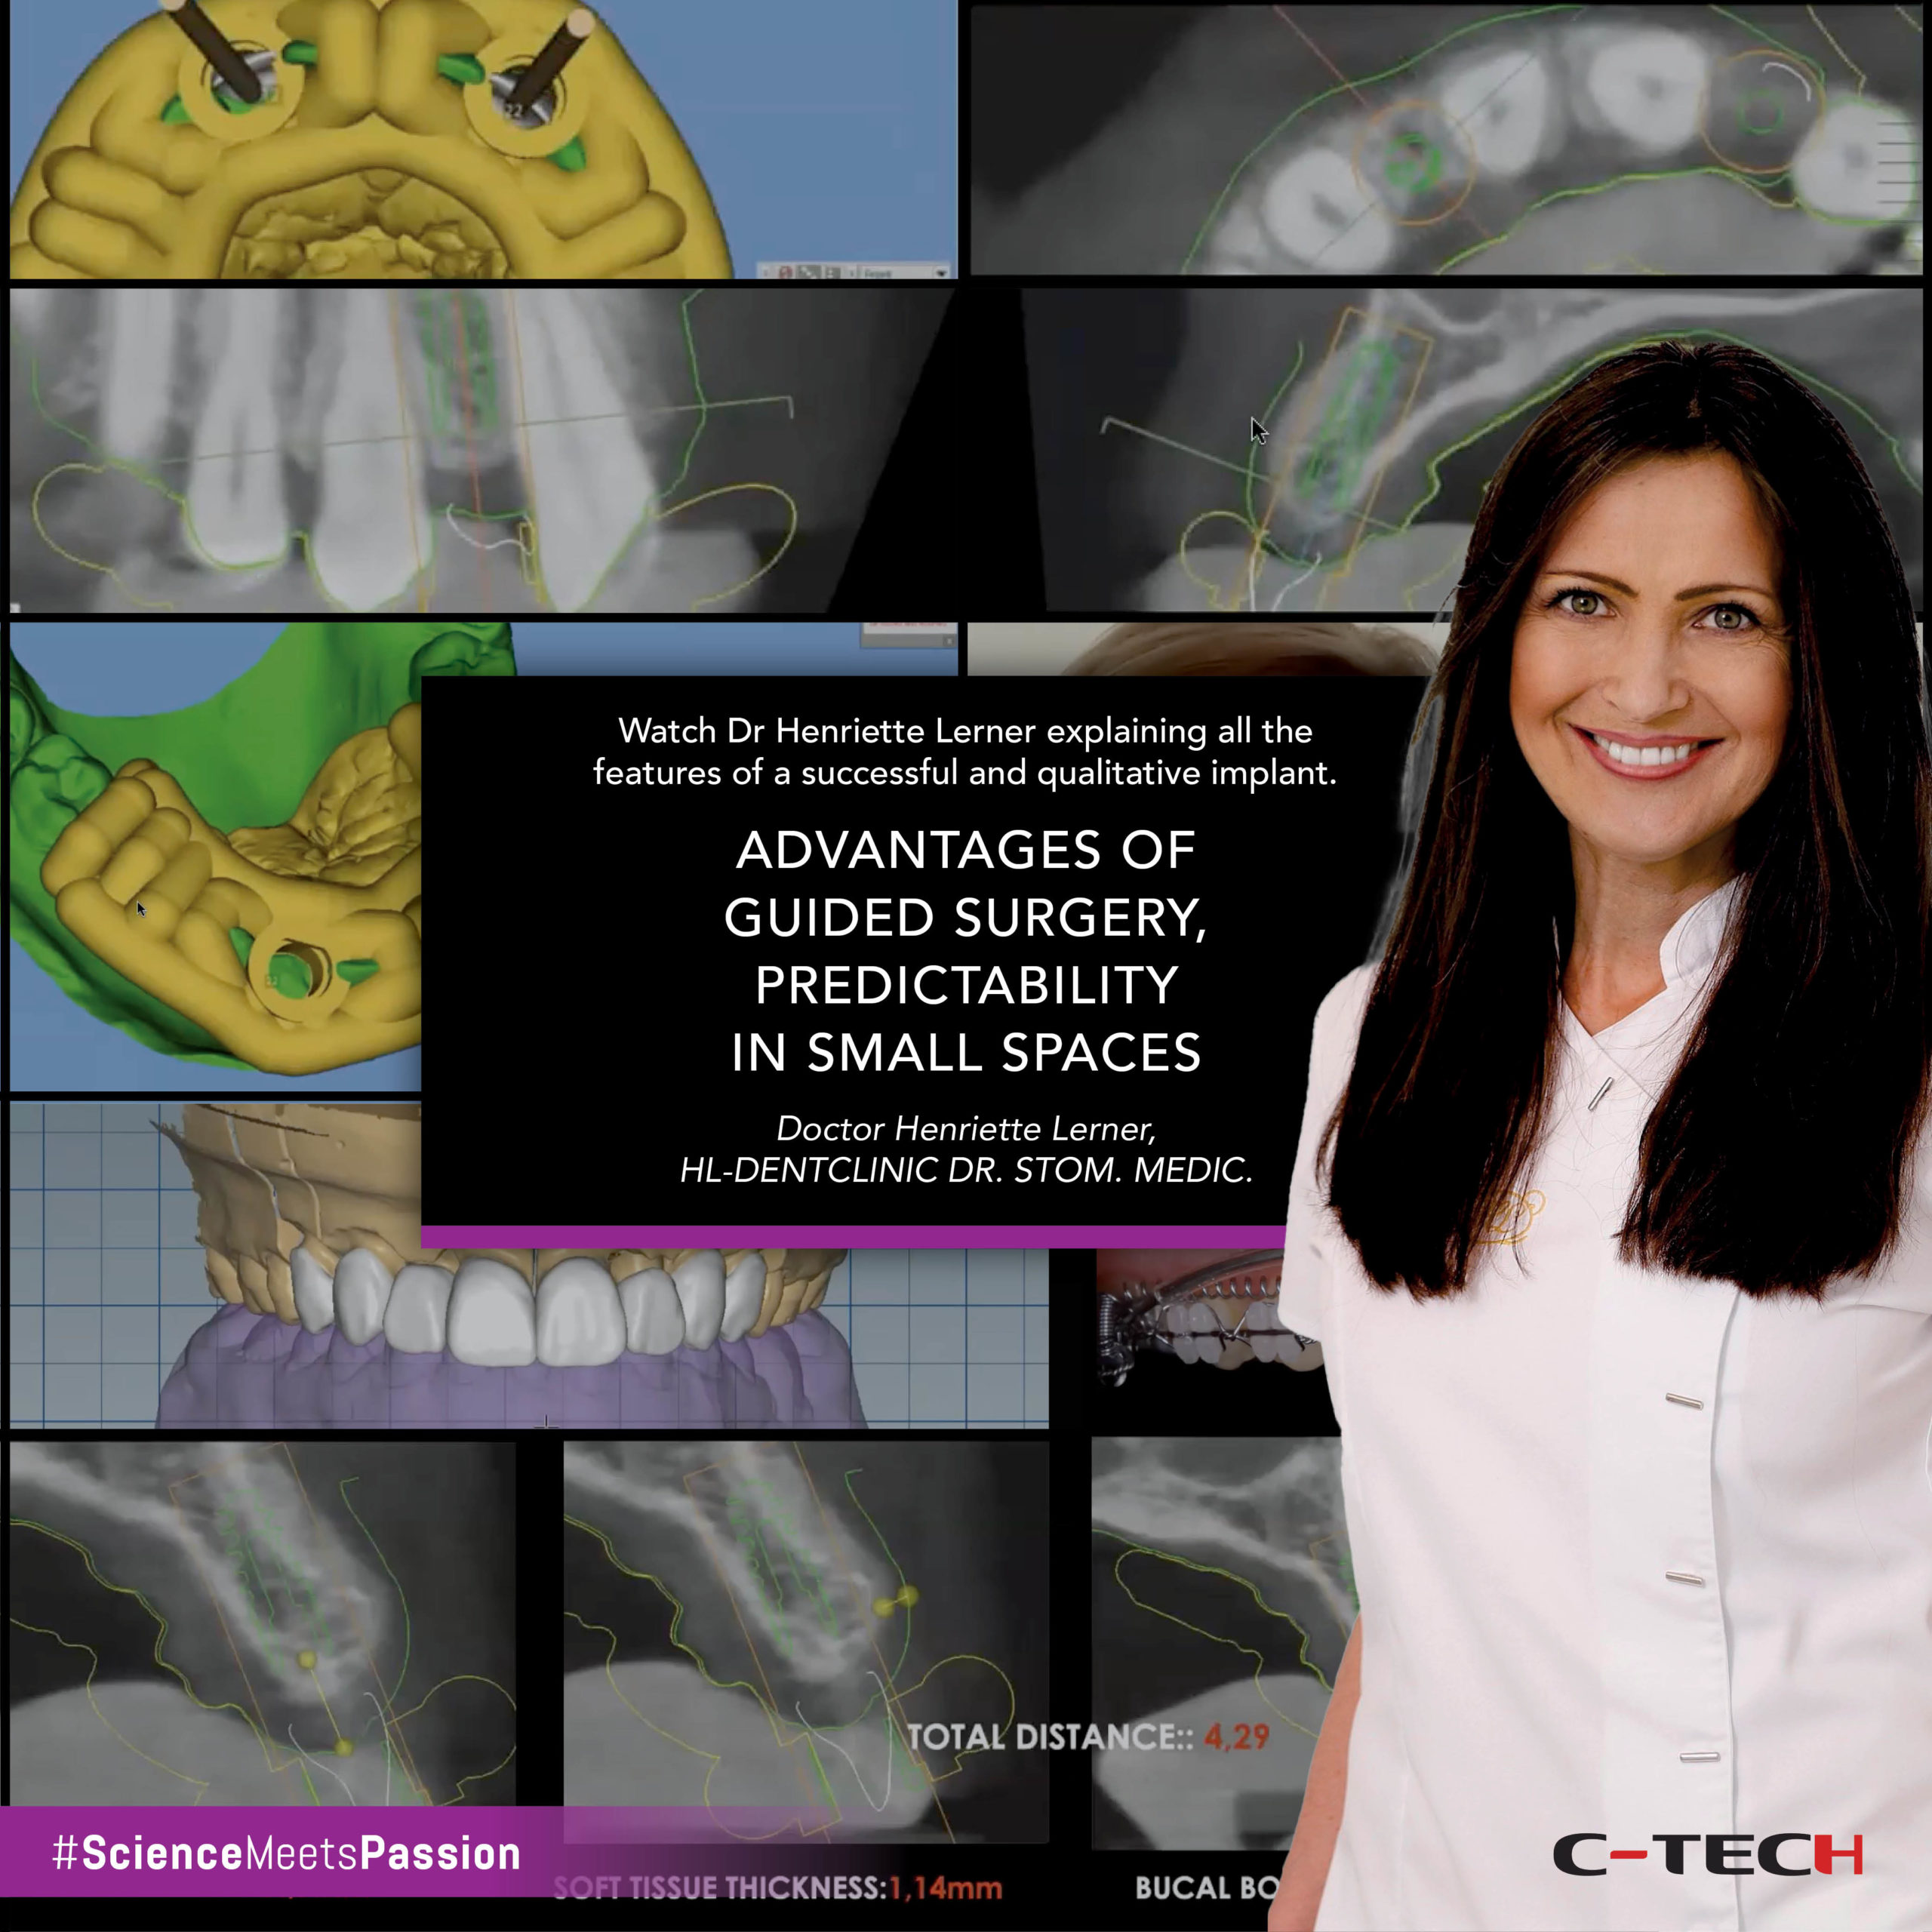
In this case, it is necessary to use all the digital tools available – detection of joint movements, digital smile design and guided surgery, with the aim of having predictability and accuracy. For the future aesthetic part and function, the evaluation took place before the surgery.Read more
by Doctor Henriette Lerner, HL-DENTCLINIC DR. STOM. MEDIC.
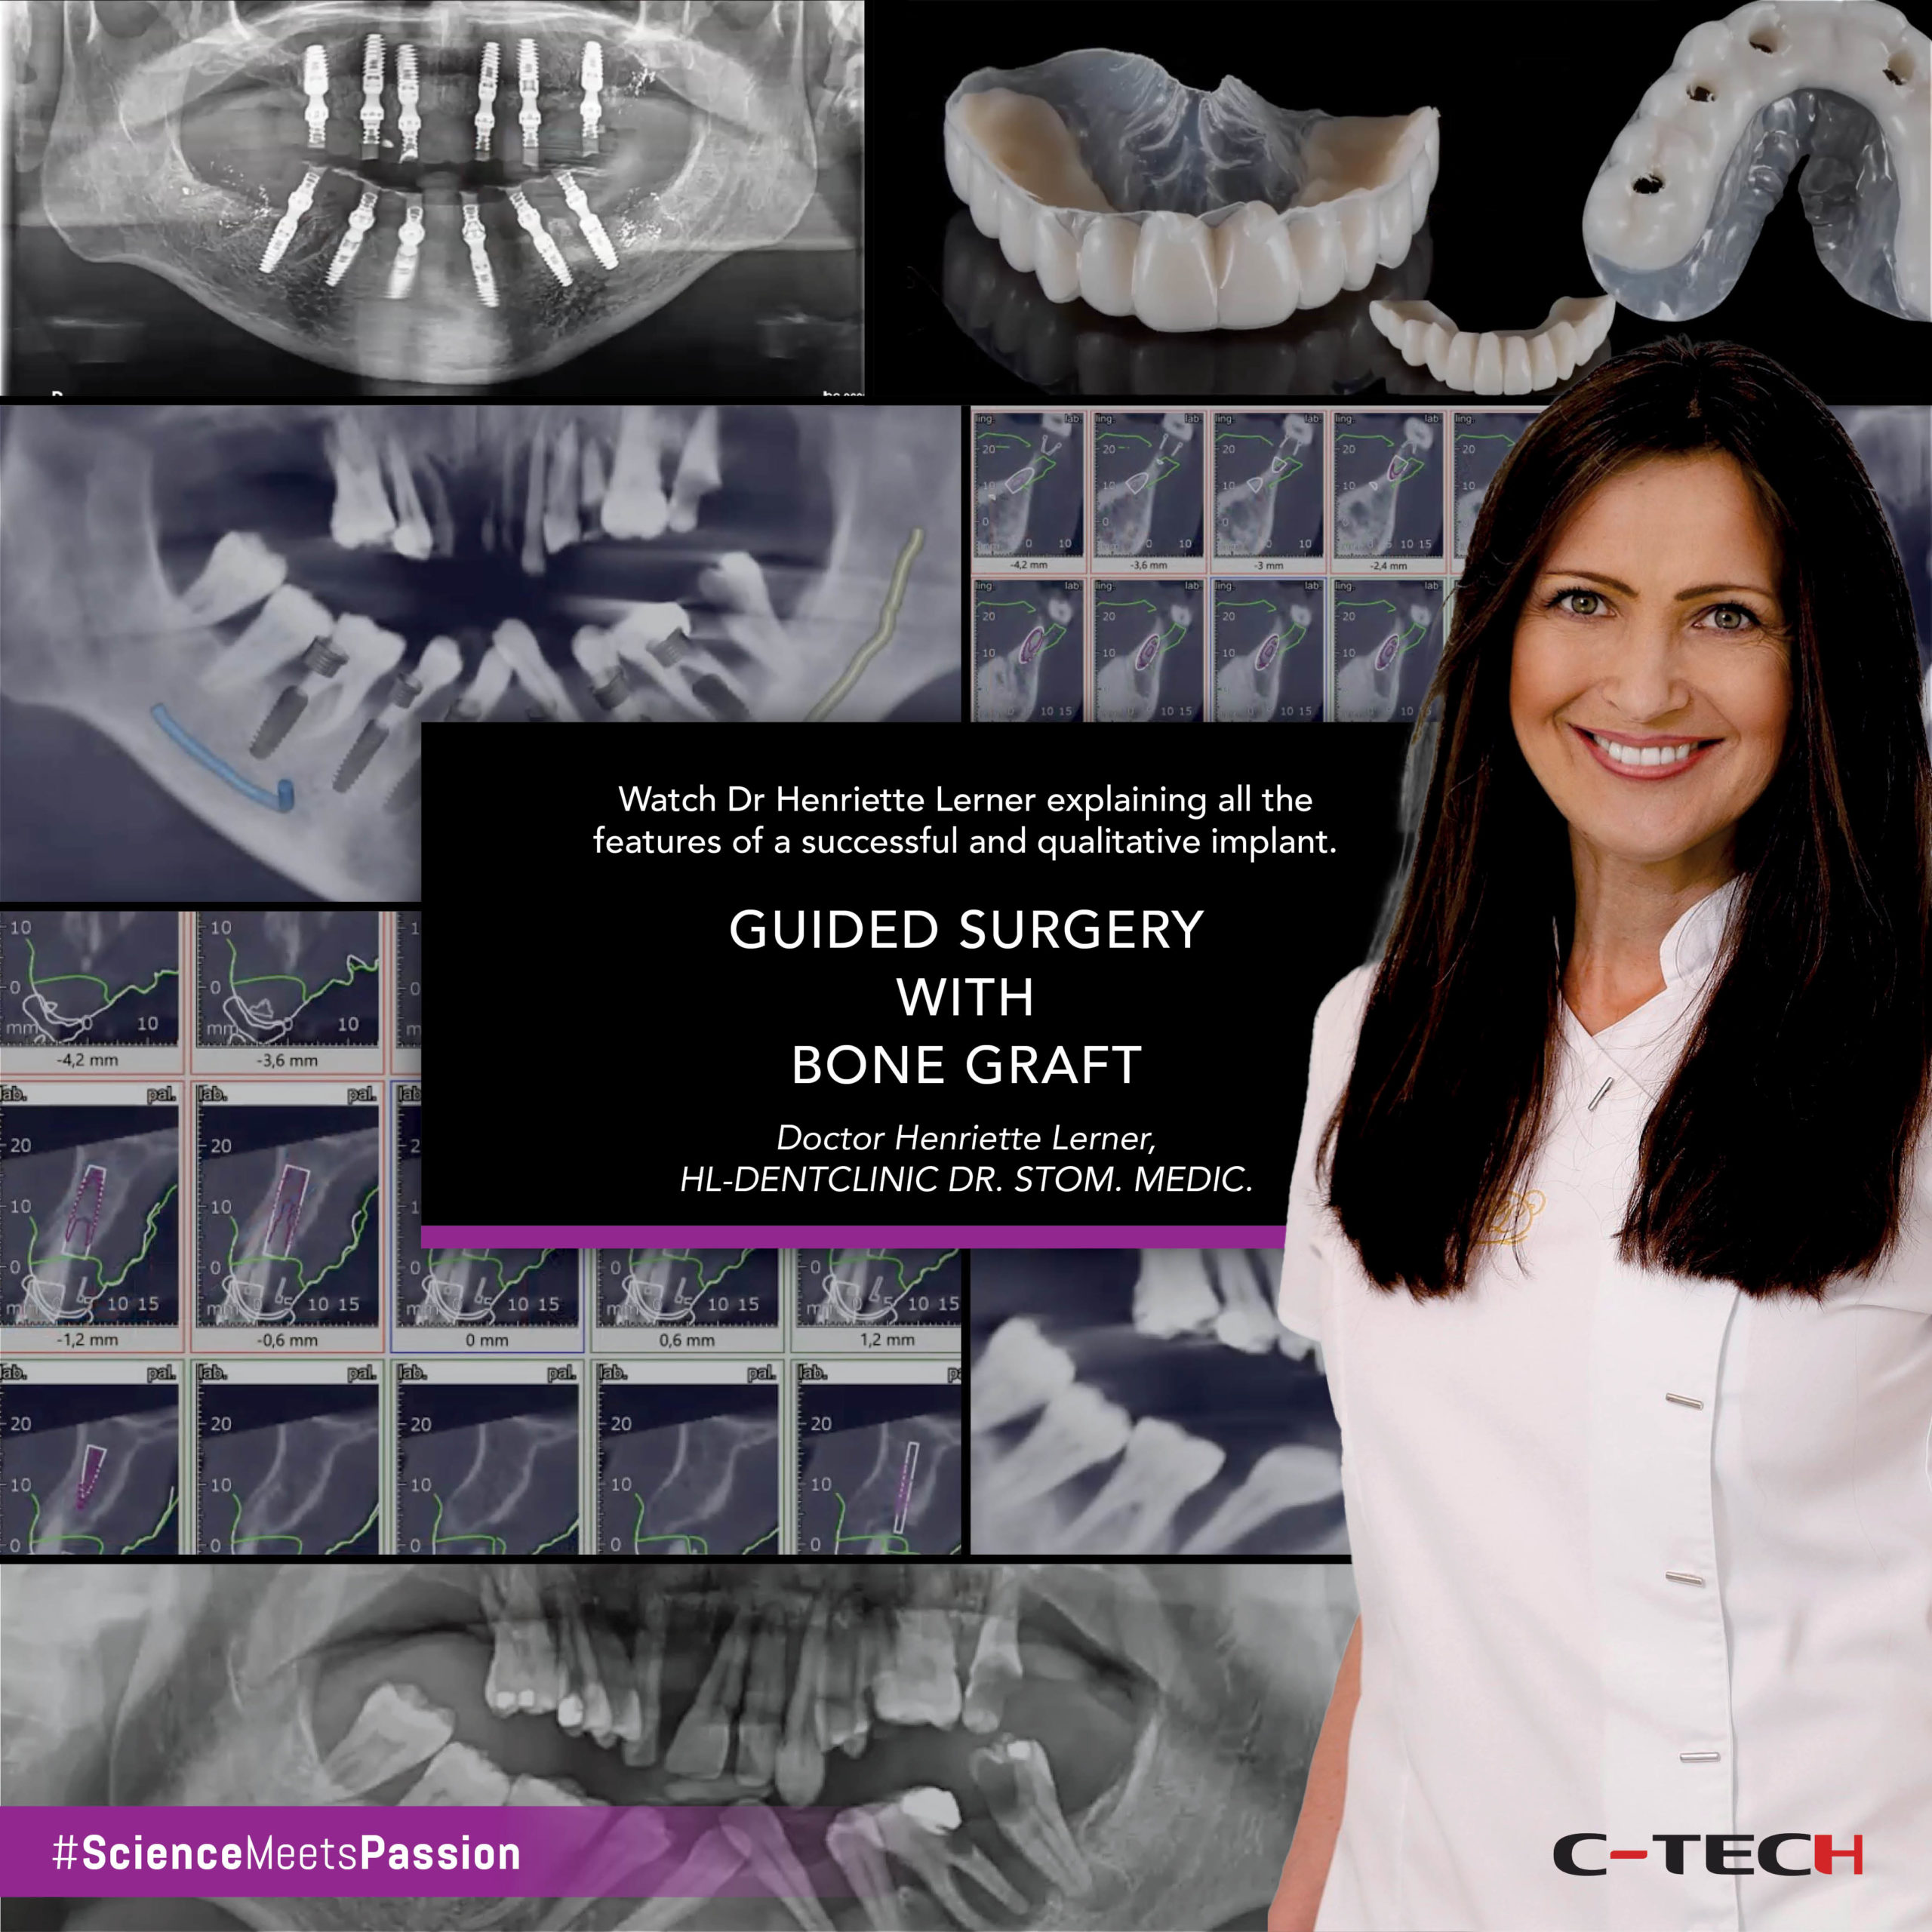
In this case it is shown how it is still possible to work in guided surgery and consequently perform bone grafts where necessary.
The advantage in a difficult case like this is to design the dental implants with a surgical guide, in order to maintain their correct positioning.
Finally, the aesthetic project was evaluated prior to surgery.Read more
Catarina G. Rodrigues, DDS, MSc - Manuel D. Marques, DDS
A 57-year-old woman presented to a private practice with the chief complaint being “I'm self-conscious about the appearance of my teeth. Also, I’ve lost most of my teeth and I cannot eat well because of that”. The clinical and radiographic examination revealed the absence of all teeth except the central incisors and right lateral incisor in the upper. In the lower, partial edentulism, severe bone loss, and multiple periapical infRead more
Request information
Prefooter ENG
Sono un Professionista in Odontoiatria
In ottemperanza con quanto previsto dalla normativa vigente, dichiaro sotto la mia responsabilità di essere un professionista del settore odontoiatrico e di essere pertanto autorizzato a prendere visione del contenuto presente in questo sito internet.
Vai al Sito
JE SUIS UN PROFESSIONNEL DU SECTEUR ODONTOLOGIQUE
Conformément aux dispositions de la norme en vigueur, je déclare, sous ma propre responsabilité, être un professionnel dans le secteur odontologique, et je suis donc autorisé à prendre connaissance du contenu de ce site internet.
Visitez le Site Web
I’M A PROFESSIONAL IN THE DENTISTRY SECTOR
According to the prevailing laws, I hereby declare under my own responsibility to be a professional in the dentistry sector and to be authorised to view the content of this website.
Visit Website
ICH BIN BERUFSTÄTIGER IM BEREICH DER ZAHNMEDIZIN
In Übereinstimmung mit den Bestimmungen der geltenden Richtlinie erkläre unter meiner eigenen Verantwortung hiermit im zahnmedizinischen Bereich berufstätig und daher dazu befugt zu sein, Einblick in den Inhalt dieser Website zu erhalten.
Besuche die Website
SOY UN PROFESIONAL EN ODONTOLOGÍA
En cumplimiento de lo dispuesto en la legislación vigente, declaro bajo mi responsabilidad ser un profesional del sector odontológico y, por lo tanto, estar autorizado para examinar el contenido presente en este sitio web.
Visite el Sitio Web
ΕΙΜΑΙ ΕΠΑΓΓΕΛΜΑΤΙΑΣ ΣΤΟΝ ΧΩΡΟ ΤΗΣ ΟΔΟΝΤΡΙΑΤΡΙΚΗΣ
Σύμφωνα με τους ισχύοντες νόμους, δηλώνω υπεύθυνα ότι είμαι επαγγελματίας στον χώρο της Οδοντιατρικής και να μου επιτραπεί η πρόσβαση στο περιεχόμενο αυτού του ιστοχώρου.
επισκεφθείτε την ιστοσελίδα
A fogászati iparág hivatásos szakembere vagyok
A vonatkozó törvényeknek megfelelően, felelősségem tudatában kijelentem, hogy a fogászati iparág hivatásos szakembereként jogosult vagyok ezen weboldal tartalmának megtekintésére.
επισκεφθείτε την ιστοσελίδα
BİR DİŞ HEKİMİYİM
Yürürlükteki standartlar uyarınca, diş hekimliği alanında uzman olduğumu ve buna bağlı olarak, bu internet sitesinin içeriğini görüntülemeye yetkim olduğunu tüm sorumluluğu bana ait olmak üzere beyan ederim.
επισκεφθείτε την ιστοσελίδα
I’M A PROFESSIONAL IN THE DENTISTRY SECTOR
According to the prevailing laws, I hereby declare under my own responsibility to be a professional in the dentistry sector and to be authorised to view the content of this website.